
How To Make Your Own Envelope Liners For Wedding Invitations
If you're DIY-ing your Wedding Invitations and want to add a bit of an extra fancy touch, then adding an envelope liner is the perfect solution. They are quick, cheap and easy to do, so why not give it a try.
Watch our quick video tutorial here:
...and check out my written instructions below:
The below content contains affiliate links and we may earn a commission if you shop through them, however this won't cost you anything, it just helps us to keep the site running for free. For more information on affiliate links, see our disclosure here.
WHAT YOU NEED:
A plain envelope (pick a colour that suits your theme/invitation)
Scissors
Glue
Pencil
Some fancy paper that matches your Wedding theme (nothing so thin that you will see the glue through it, or so thick that it won't bend)
STEP ONE:
Draw around your envelope with pencil on to your liner paper.
I drew on the back of my liner paper because the front is shiny, but if you have a specific pattern that you want to make sure is included on your liner, then you can pencil on the front instead and just rub out any pencil marks that are left.

STEP TWO:
Cut around the pencil lines so that your liner is the same size as your envelope.


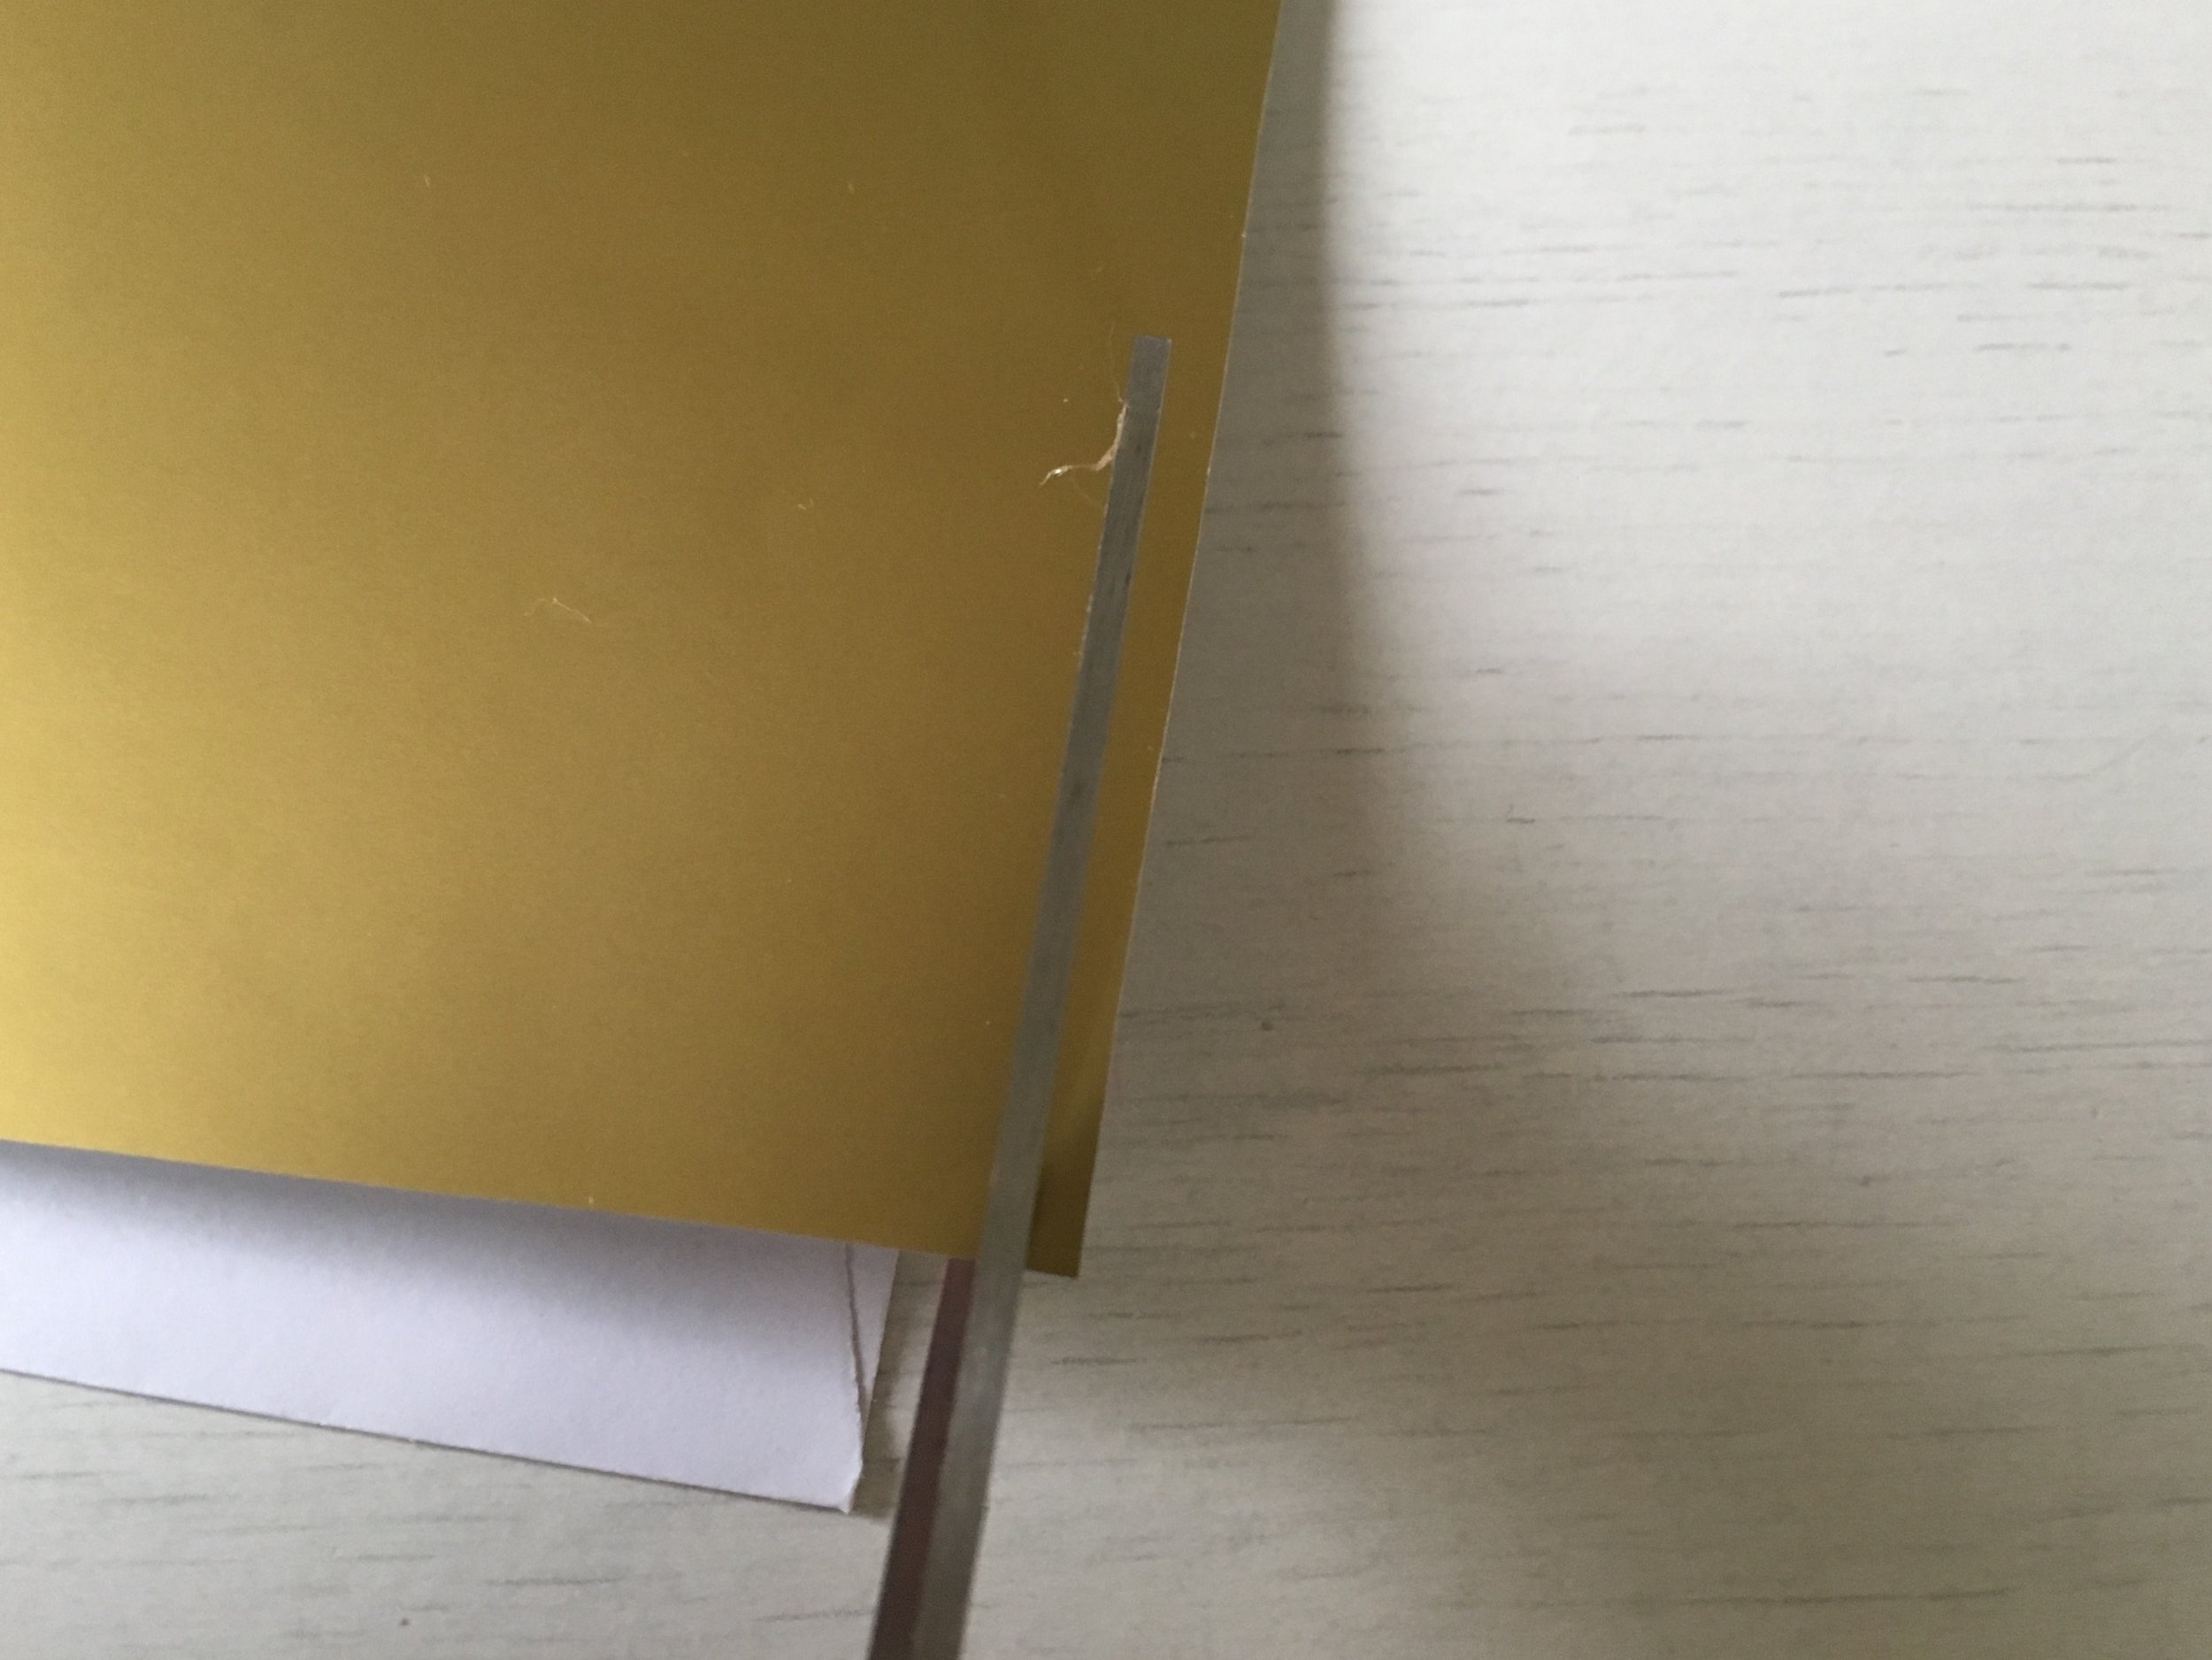
STEP THREE:
In order for it to fit inside your envelope and so you can still stick your envelope down, you need to cut a section off the bottom (I cut roughly 2cm off) and also a small section off either side (less than half a cm off both sides).


You don't want to cut too much off, just enough so that your liner will fit snug into your envelope. Place it in there and fold the envelope flap and liner paper over so you know it definitely fits before you start glueing it.

STEP FOUR:
Now glue around the top edges of the back of the liner paper. You don't need to glue all of the way around, otherwise it will be difficult to get it right into the envelope. Just glue the top sections and the bottom will stay in place.

STEP FIVE:
Place your liner into your envelope and press down to make sure it is stuck.

And it's as easy as that!

These can also be used for Christmas cards, birthday gifts, business stationery - any type of card or snail mail that you want to add an extra special touch to!
If you're looking for DIY Wedding Invitations, check out the editable and printable invites I have available here on my DIY Bride's Boutique Etsy page.
If you have any questions, drop me a comment below