
DIY Paper Rose bouquet Tutorial (no cutting machine needed)
Real flowers can take up a huge chunk of your wedding budget, especially if you want specific types or colors, so why not go DIY instead and make your own paper flowers, which are easy to do, even if you don’t have a Cricut or Cameo cutting machine. Bonus points is that you can keep them forever without them wilting, you may just not want to throw this bouquet in case it gets creased!
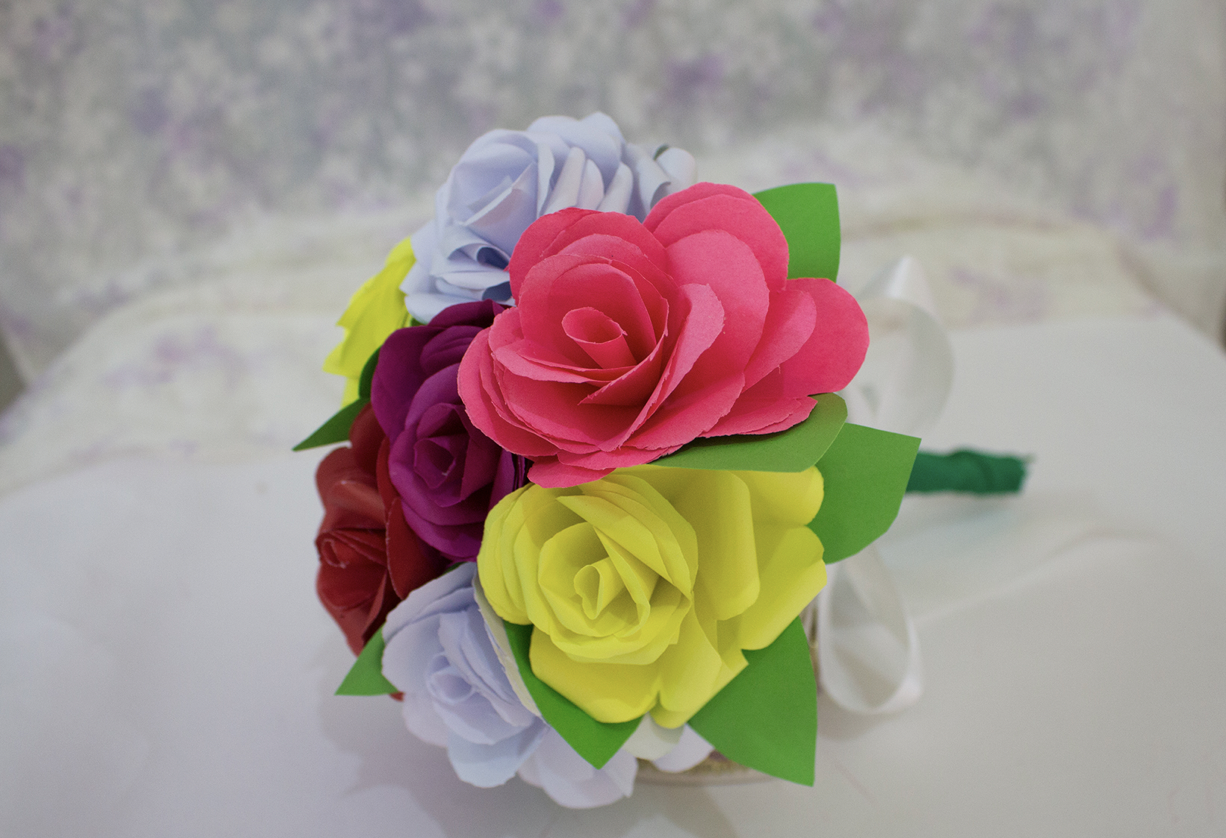
This rose bouquet is made by using bright colors such as pink, purple, yellow, white and red, however you can go with any color combination you like!

What you need:
Color Paper (any color you would like to use)
Scissors
Glue or Hot Glue
Pencil or Wooden skewers to create curves on the petals
Floral Wire Stems OR Wooden Skewers & Acrylic Paint (Green)
Clear Tape
Ribbon (Green and White, or your choice)
This Floral Arrangement kit has lots of the above if you don’t already own them!
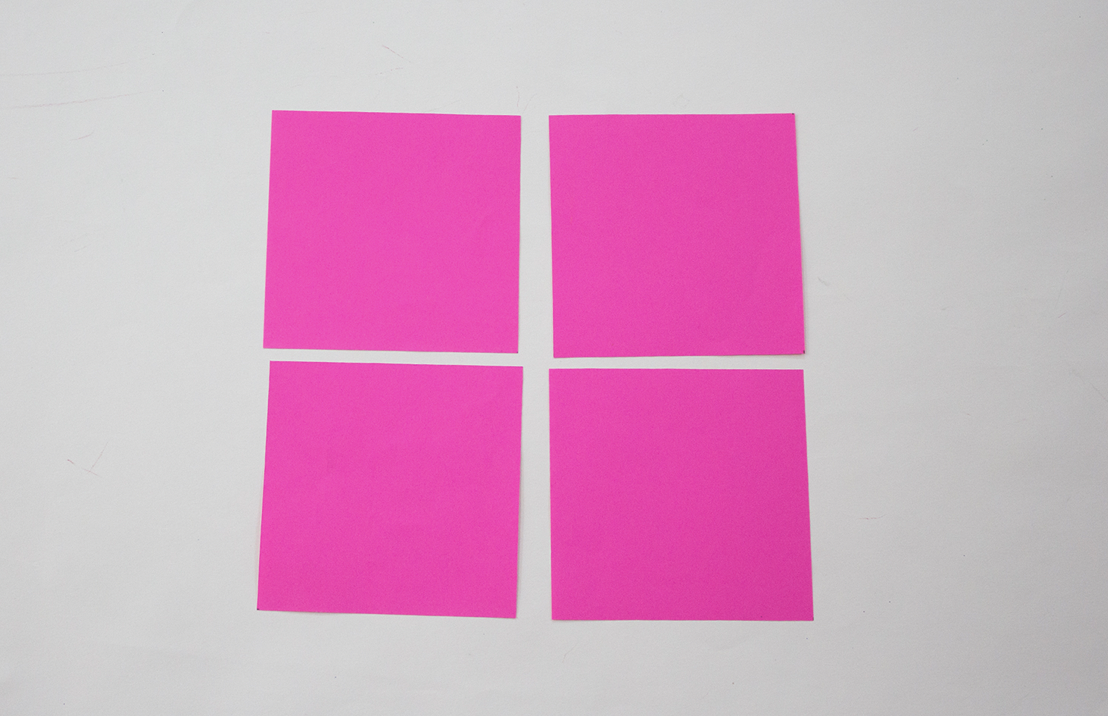
Step 1
You will need 4 pieces of 10cm x 10cm square paper.
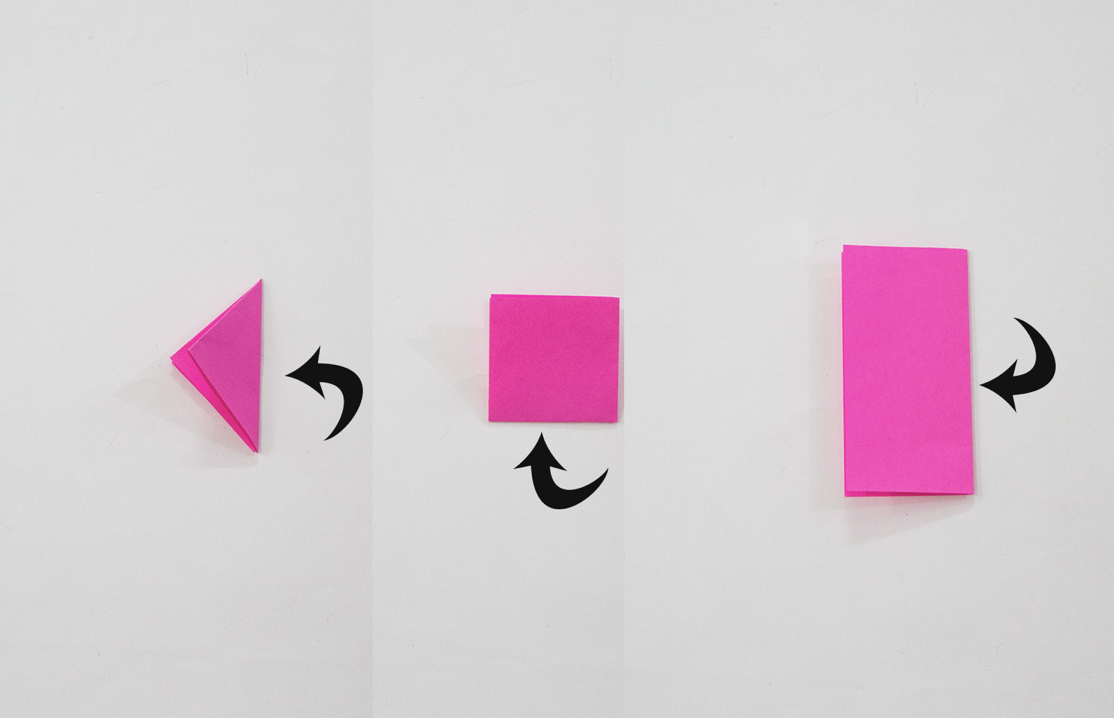
You will fold the paper three times. Follow the steps showing below:
Step 2
Draw a round shape of a petal and cut it along the line which you have drawn. Then cut the bottom tip, make sure not to over cut.


Repeat the process on all four pieces of paper then unfold your paper and you should have four flowers that resemble the ones below.

Step 3
Cut a petal out of each flower, one from the first flower, two petals from the second flower, three from the third flower and then cut the fourth flower in half.

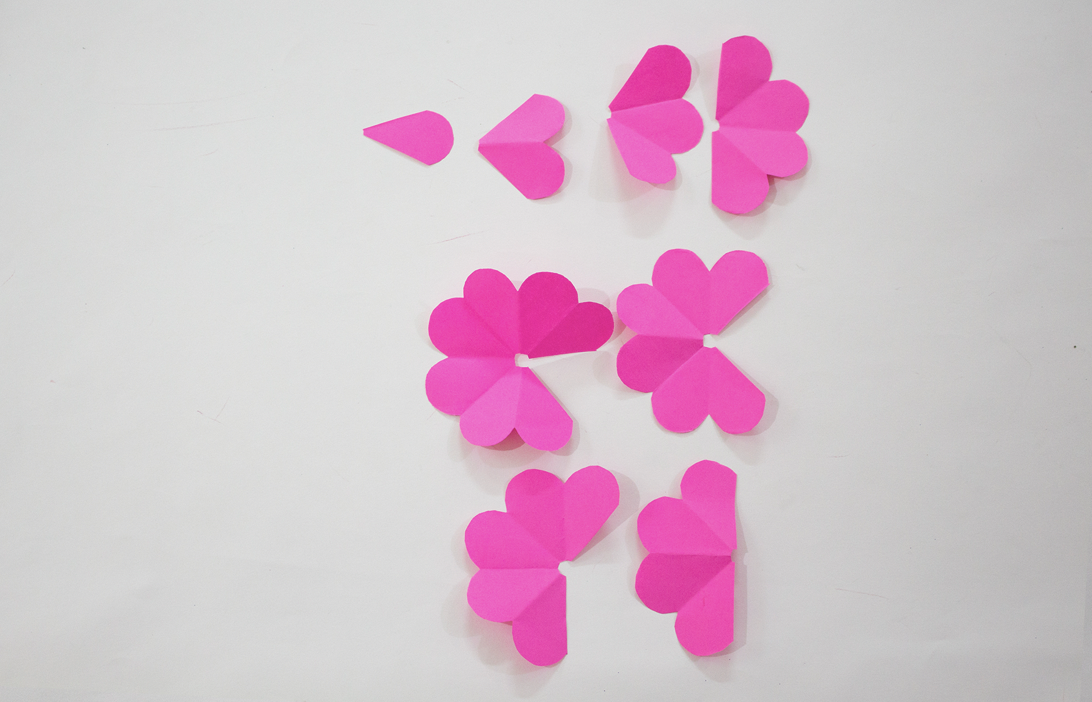
The four small petals showing above will be the center of the flower.
Step 4
Now overlap the petals and glue them into place.


I overlapped all the big four petals and now its time to overlap the small petals.
Roll the single petal tightly and roll the double petal slightly bigger than the single. I used a wooden skewer to tightly roll the single petal.

Also, create curves on the petals using the wooden skewers.

Now all the parts of the flower are ready to be assembled.

Step 5
Start gluing the flower pieces. The ones with more petals should be on the bottom and the ones with fewer petals should be on the top.

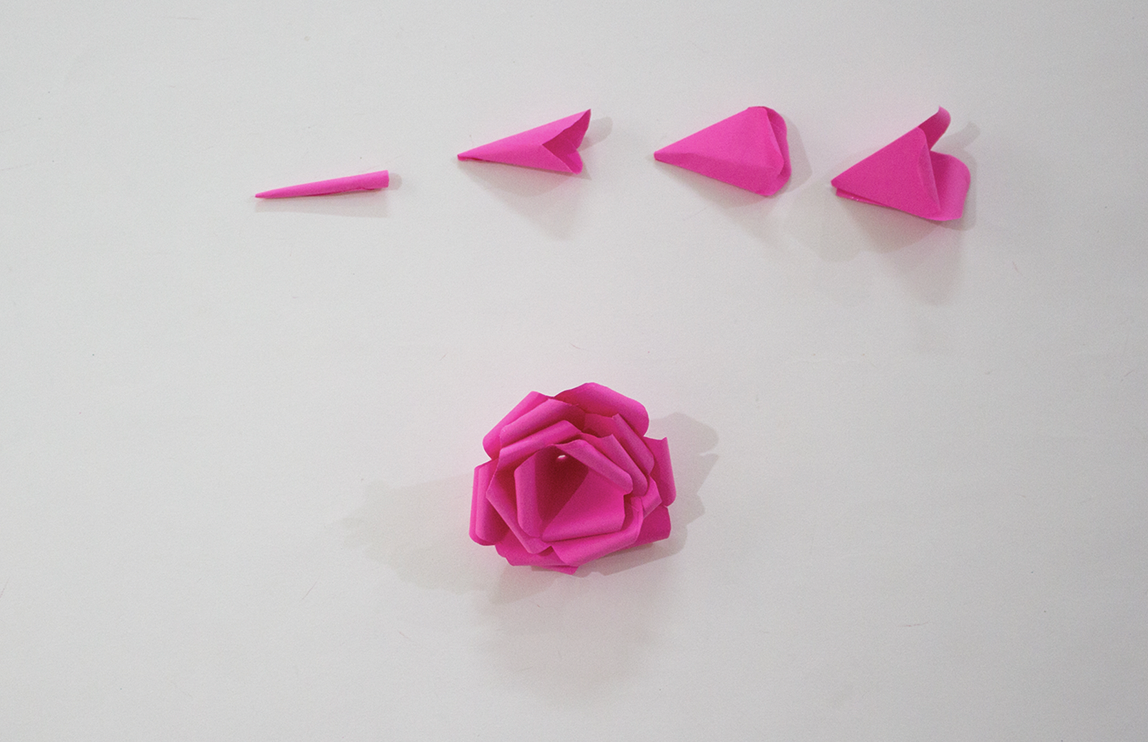
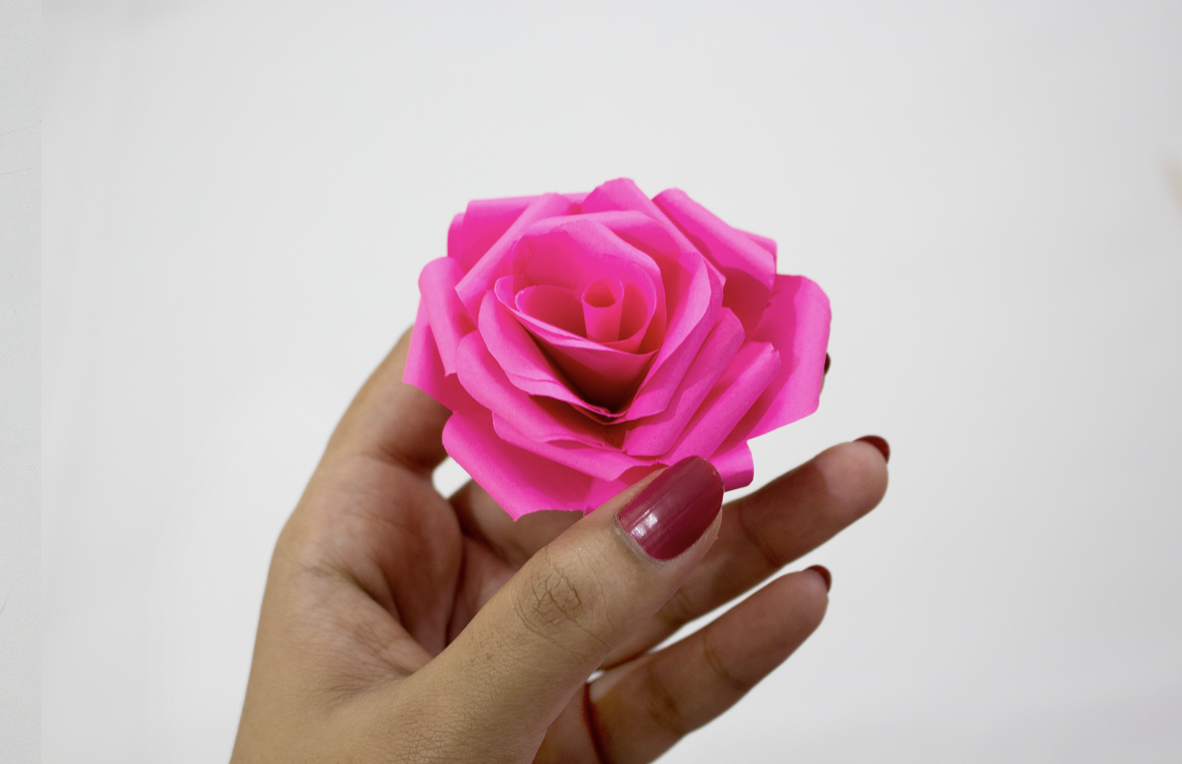
And your first beautiful rose is ready!
Repeat as necessary with your chosen colours. We did this one with nine roses as that forms an ideal shape for a wedding bouquet.
Step 6
Take floral wires and if they are not available then you can use wooden skewers. I used wooden skewers and painted them green with acrylic paint.

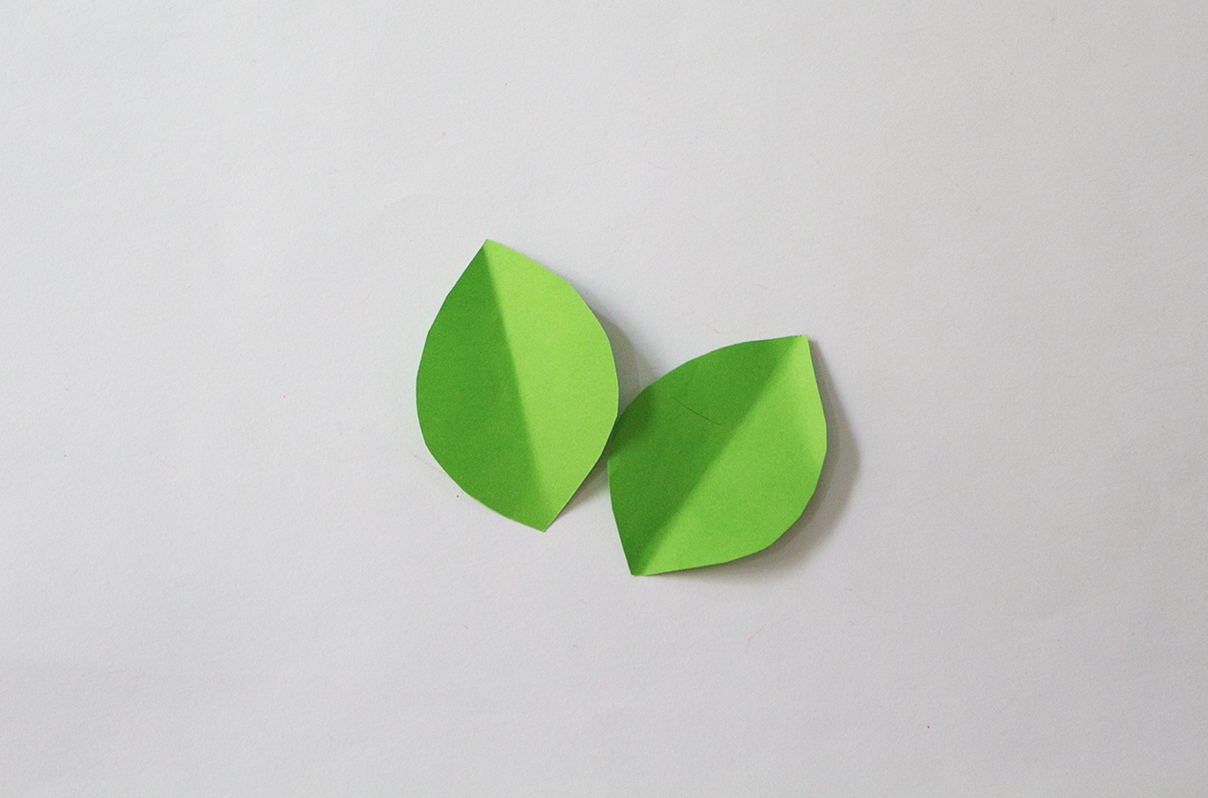
Step 7
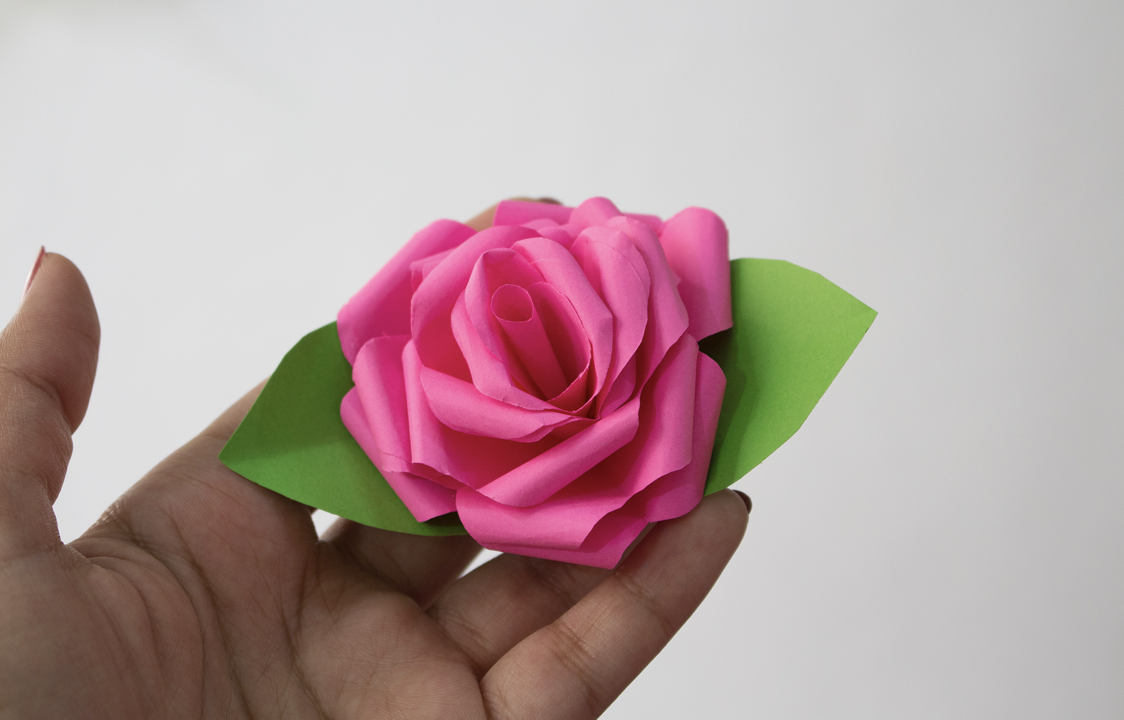
Take green color paper, draw leaves and cut them. Fold the leaves in half in order to create a real leaf effect. You will ideally need two leaves per rose.
Glue the leaves underneath the roses.

Step 8
Use hot glue and stick the wooden skewer into the flower.


Arrange the roses in order to form a bouquet.

Step 9
Wrap clear tape around the wooden skewers, you don’t have to perfectly wrap it as it won’t be seen. After wrapping the tape cut any excess off the wooden skewers at the bottom.

Step 10
Now wrap a ribbon and secure it using hot glue.
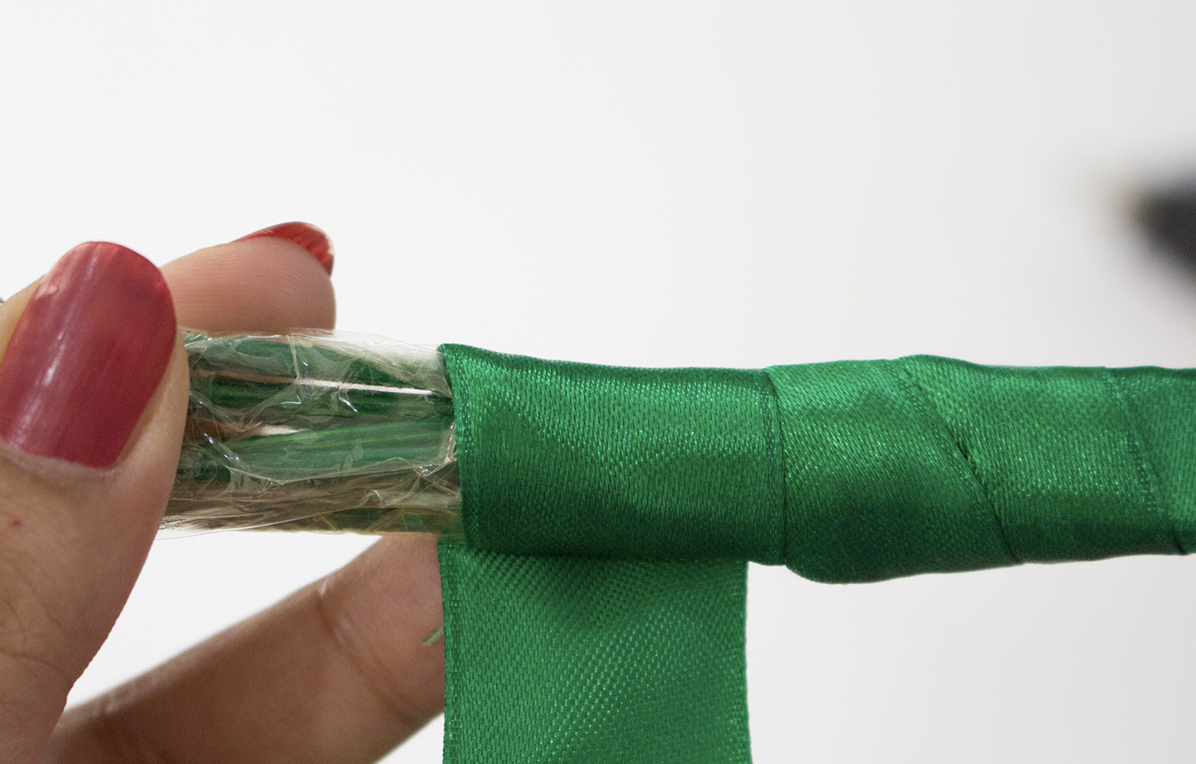
Do not wrap ribbon to the top of the wooden skewers, leave some space as shown below.

Take a different color ribbon and create a bow.
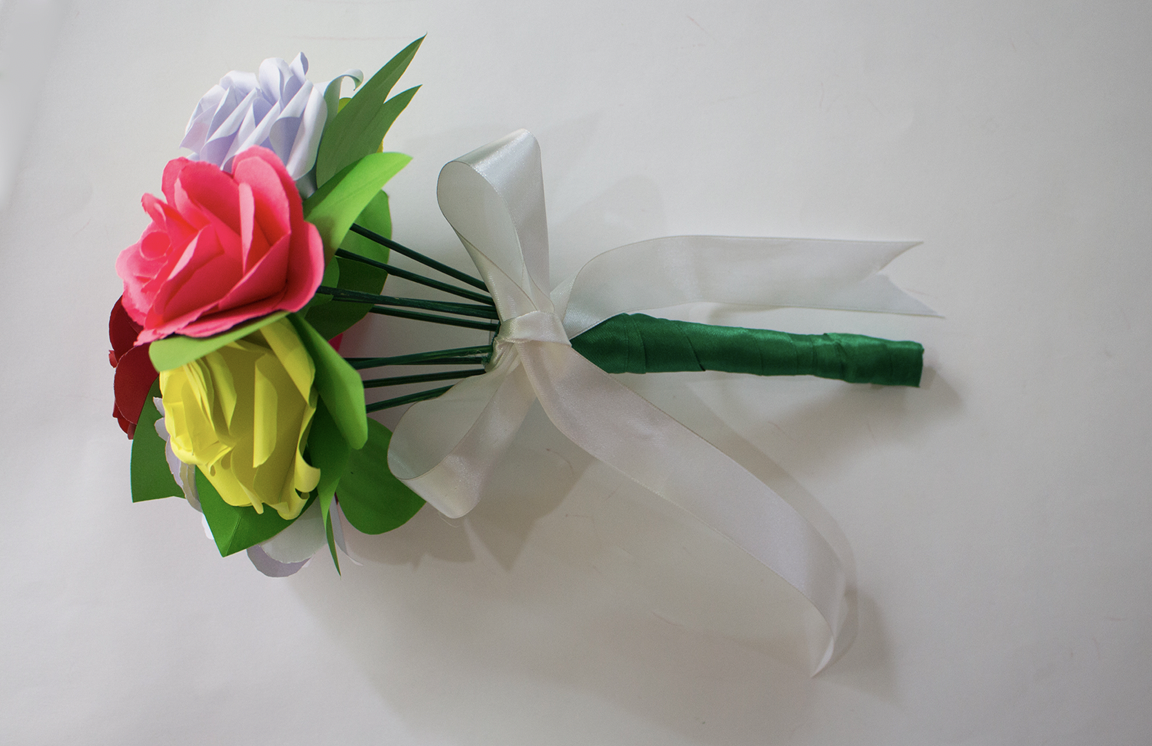
And your beautiful DIY wedding rose bouquet is ready!
Let me know in the comments what colors you will be using for your DIY bouquet! And if you want to make some DIY glitter mason jars to hold your DIY paper flowers, check out my other post here: How To Make DIY Glitter Mason Jar Centerpieces